By Sandip Sahani — Founder, Sanrovax | Performance Marketing & Growth Systems
Learning how to set up Meta ads the right way is the single biggest difference between businesses that generate real revenue from Facebook and Instagram — and businesses that waste their first ₹10,000 and quit.
Introduction — Why Most People Mess Up Meta Ads Setup
Let me tell you something most gurus will not.
The reason 70% of small business owners fail at Meta advertising is not because the platform is broken. It is because they skip the setup phase entirely. They click “Boost Post,” throw ₹500 at it, see no results, and blame Meta.
Here is the reality. Meta’s Family of Apps has 3.58 billion daily active users as of December 2025. Over 10 million businesses are actively advertising on the platform right now. Meta generated $200.97 billion in ad revenue in 2025 — 22% growth year over year. These are not small numbers. This is the biggest paid advertising platform in the world.
But here is what the data also shows. According to 2026 benchmarks, advertisers who properly set up Business Manager, install the Meta Pixel, and configure the Conversions API see up to 30% lower cost per acquisition than those who skip these steps. The Meta Pixel alone is now used by over 35–60% of active advertisers — because without it, you are literally flying blind.
Setting up Meta ads properly takes about 45 minutes. That is it. Forty-five minutes of doing things the right way saves you months of frustration and thousands of rupees in wasted ad spend.
This guide is going to walk you through the exact setup process, step by step, the way we do it at Sanrovax for our own clients. No skipped steps. No technical jargon. Just the real process that actually works in 2026.
Let us get into it.
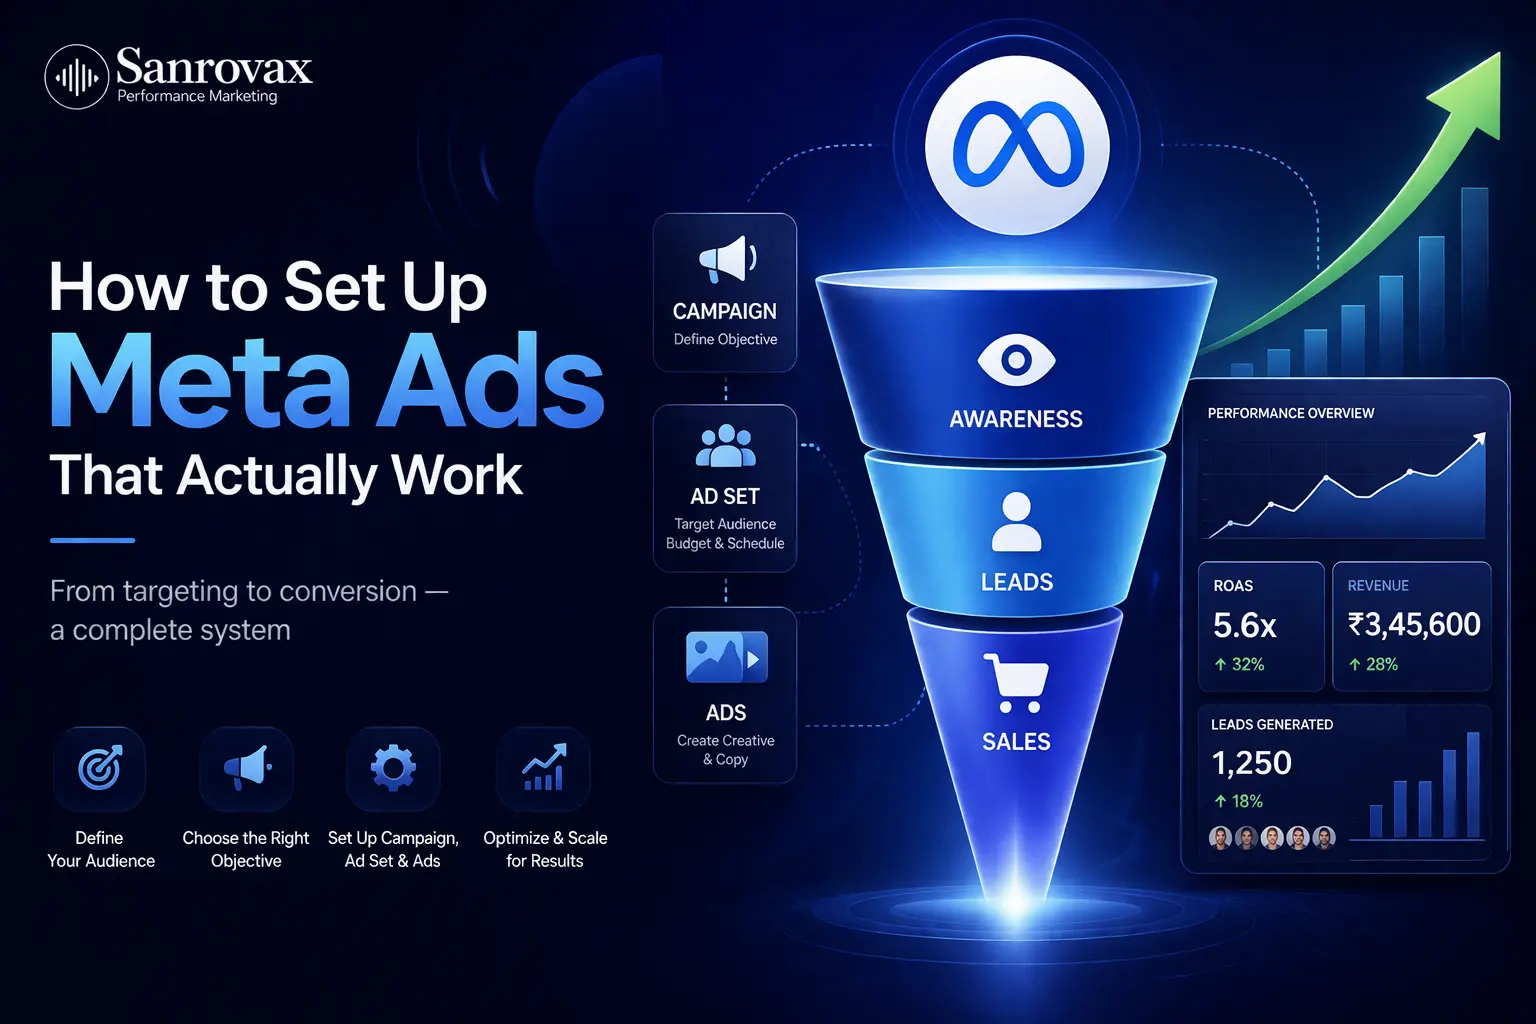
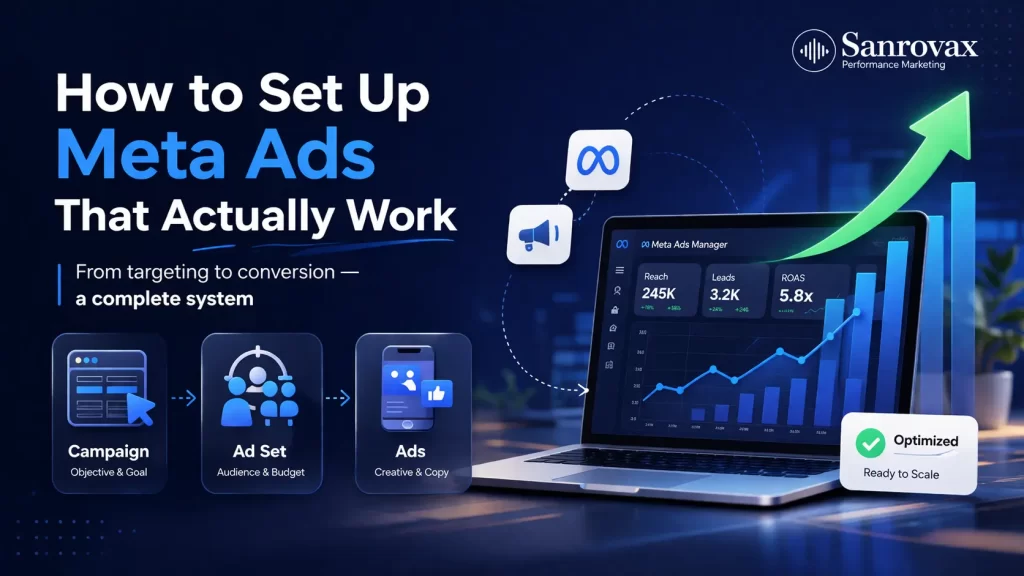
How to Set Up Meta Ads — The Complete Step-by-Step Process
Here is exactly how the setup works, in order. Follow these steps and you will have a fully functional Meta ads account ready to launch profitable campaigns.
Step 1: Create Your Meta Business Manager Account
Go to business.facebook.com and click “Create Account.” Enter your business name, your name, and your work email. This Business Manager becomes the central hub for all your advertising assets — pages, ad accounts, pixels, and team members. Verify your email when Meta sends the link.
Step 2: Add Your Facebook Page and Instagram Account
Inside Business Settings, go to “Accounts” → “Pages” and either add an existing Facebook Page or create a new one. Then go to “Instagram Accounts” and connect your Instagram Business profile. Both are required before you can run ads.
Step 3: Create Your Ad Account
Navigate to “Accounts” → “Ad Accounts” → “Add” → “Create a New Ad Account.” Name it clearly (example: “Sanrovax_MainAccount_2026”). Critical warning: choose your timezone and currency carefully — Meta does not let you change these later, ever. If your team is in India, select IST and INR.
Step 4: Add a Payment Method
Go to “Billing & Payments” and add a valid payment method — credit card, debit card, or UPI (India). Always add a backup card. Failed payments pause your campaigns instantly.
Step 5: Install the Meta Pixel (Non-Negotiable)
Open Events Manager → “Connect Data Sources” → “Web” → “Meta Pixel.” Name it descriptively (example: “Sanrovax_MainWebsite_Pixel”). Enter your website URL. Choose installation method — for Shopify, WordPress, or Wix, use the partner integration (easiest). For custom sites, install the pixel code in your header or use Google Tag Manager.
Step 6: Set Up the Conversions API (CAPI)
In the same Events Manager, enable Conversions API. This sends data server-side directly to Meta — bypassing browser tracking blockers. This single step can improve your data accuracy by up to 30% in 2026. Use a partner integration for platforms like Shopify, or work with a developer for custom setups.
Step 7: Verify Your Domain
Go to “Brand Safety” → “Domains” → add your website → verify via DNS, meta tag, or HTML file upload. This is required to run conversion campaigns after iOS 14.5+ privacy changes.
Step 8: Create Your First Campaign
Open Ads Manager → click the green “Create” button. Choose your objective — Awareness, Traffic, Engagement, Leads, App Promotion, or Sales. Match the objective to your actual business goal. Want leads? Choose Leads. Want purchases? Choose Sales.
Step 9: Configure Your Ad Set
Name your ad set clearly (example: “LEADS_Kolkata_25to45_Apr2026”). Set your budget — start with at least ₹500/day for Indian campaigns or $20/day globally. Choose Advantage+ Audience to let Meta’s AI find buyers, or use custom audiences if you have pixel data. Select “Advantage+ Placements” to let Meta distribute across Feed, Reels, Stories, and Audience Network automatically.
Step 10: Build Your Ad Creative and Publish
Upload vertical video (1080×1920) or square images (1080×1080). Write a clear headline, a specific description, and choose a strong CTA button (“Learn More,” “Shop Now,” “Book Now”). Test 3 to 5 creative variations per ad set. Click “Publish.” Meta reviews most ads within 24 hours.
That is the entire setup process. Done properly, this foundation carries every future campaign. You can see here how meta ads work.
What to Keep in Mind While Setting Up Meta Ads
1. Always Use Business Manager, Not Your Personal Profile
Running ads from your personal Facebook account limits access, breaks team collaboration, and risks account suspension. Business Manager is the only professional way to advertise.
2. Name Everything Clearly from Day One
Use a consistent naming convention like “OBJECTIVE_Audience_Product_Date” (example: “SALES_Retargeting_SummerCollection_Apr2026”). Future you will thank present you when you have 50 campaigns running.
3. Install Pixel Before Launching Any Campaign
Never run a single campaign without the Meta Pixel installed and firing correctly. Use the Meta Pixel Helper Chrome extension to verify events are tracking properly.
4. Start with a Realistic Budget
₹500–₹1,000/day is the minimum for meaningful learning in India. Meta’s algorithm needs approximately 50 conversion events per week to exit the learning phase. Under-budgeting kills campaigns before they can optimize.
5. Let the Algorithm Learn for 3–7 Days Minimum
Do not make major edits, budget changes, or pause campaigns in the first 72 hours. Every edit resets the learning phase and wastes your initial spend.
6. Enable Two-Factor Authentication
Meta ad accounts are a major hacking target. Enable 2FA on your Business Manager immediately. A hacked ad account can burn lakhs in a single night.
7. Test Creative Diversity, Not Variations
Upload 3–5 radically different creatives per ad set — different hooks, angles, and formats. Do not test the same image with different headlines.
What NOT to Do When Setting Up Meta Ads
1. Do Not Skip Business Manager Setup
Jumping straight into Ads Manager without a proper Business Manager foundation creates permanent problems you cannot undo.
2. Do Not Use the Wrong Timezone or Currency
This decision is permanent. Choose carefully based on where your billing decisions actually happen.
3. Do Not Ignore Domain Verification
Unverified domains cannot run proper conversion campaigns in 2026. This is not optional anymore.
4. Do Not Boost Posts from Your Page
Boosting is Meta’s trap for beginners. It gives almost zero targeting control and burns budget faster than any real campaign.
5. Do Not Launch Without Testing Pixel Events
A pixel installed incorrectly tracks nothing. Always verify with the Pixel Helper before spending a rupee.
6. Do Not Use Broad Targeting Without a Plan
Advantage+ Audience is powerful — but only if your pixel already has conversion data. For brand-new accounts, start with 1–2% lookalikes or interest-based audiences.
7. Do Not Send Traffic to Your Homepage
Always send ad traffic to a dedicated landing page that matches your ad’s promise. Homepages kill conversion rates.
How Sanrovax Helps Businesses Generate Revenue with Meta Ads
At Sanrovax, we do not just “set up” Meta ad accounts — we build complete revenue systems.
Every client engagement starts with a full technical foundation: Business Manager configured the right way, Meta Pixel and Conversions API installed and verified, domain verification, proper naming conventions, and secure team access. This setup alone saves clients weeks of trial and error.
From there, we build campaign architectures designed around your actual business goal — whether that is qualified leads, booked appointments, e-commerce sales, or store visits. We produce vertical-first creative (the format that dominates Meta in 2026), write scroll-stopping ad copy, and design landing pages that convert.
Most importantly, we track what matters — CPL, CPA, ROAS, and real revenue impact — not vanity metrics like likes and impressions. Every campaign we run is built to compound: better data feeds better targeting, which feeds better results, month after month.
Whether you are just launching your first ad or scaling a serious media budget, we build systems that match your stage and deliver measurable growth.
FAQ — How to Set Up Meta Ads ❓
Q1: How long does Meta ads setup take?
A proper setup takes approximately 45 minutes if you have your business details, website access, and payment method ready. This includes Business Manager creation, Pixel installation, domain verification, and first campaign creation.
Q2: How much money do I need to start Meta ads in 2026?
For Indian businesses, start with a minimum of ₹500/day (₹15,000/month). Globally, $20/day is the baseline. Meta’s algorithm needs enough budget to collect around 50 conversion events per week to optimize effectively.
Q3: Do I need a website to set up Meta ads?
Not technically. You can run Lead Ads with Instant Forms without a website. But for long-term success, a website with the Meta Pixel installed gives you significantly better tracking, data, and targeting options.
Q4: What is the difference between Business Manager and Ads Manager?
Business Manager is your central hub — where you manage pages, ad accounts, pixels, and people. Ads Manager is where you actually create and manage campaigns. You need Business Manager first to access Ads Manager professionally.
Q5: Why is my ad not delivering after setup?
Common reasons: ad still in review (wait 24 hours), payment method failed, audience too narrow, budget too low, or ad rejected for policy violations. Check “Delivery” status in Ads Manager for the exact reason.
Q6: Should I start with Advantage+ or manual campaigns?
For brand-new accounts with no data, start with manual campaigns for 2–4 weeks to build pixel data. Once you have 50+ conversions, switch to Advantage+ Shopping/Sales campaigns for best results.
Conclusion — Set It Up Right, Scale It Forever
Setting up Meta ads the right way is not glamorous work. It is 45 minutes of clicking through menus, verifying pixels, and naming things properly. But this unsexy foundation is exactly what separates profitable advertisers from the ones complaining “Meta ads do not work.”
Get the setup right, and every campaign you launch builds on a stronger base. Get it wrong, and you will keep starting from zero — month after month, rupee after rupee.
You now know how to set up Meta ads better than 90% of business owners running ads right now. The only question left is whether you will do it yourself — or let experts build it for you in a fraction of the time.
At Sanrovax, every client engagement starts with one simple question: what does a real result actually look like for your business? Not impressions. Not clicks. Real revenue. Real leads. Real growth.
If you are ready to build a Meta ads system that compounds every month, let us talk.
Book Your Free 30-Minute Strategy Call → sanrovax.com
No pressure. No pitch. Just a clear, honest conversation about your business.
Sandip Sahani — Founder, Sanrovax Performance Marketing & Growth Systems | Halisahar, West Bengal, India sandip@sanrovax.com
2 thoughts on “How to Set Up Meta Ads Step by Step — Complete Guide for Beginners (2026)”